
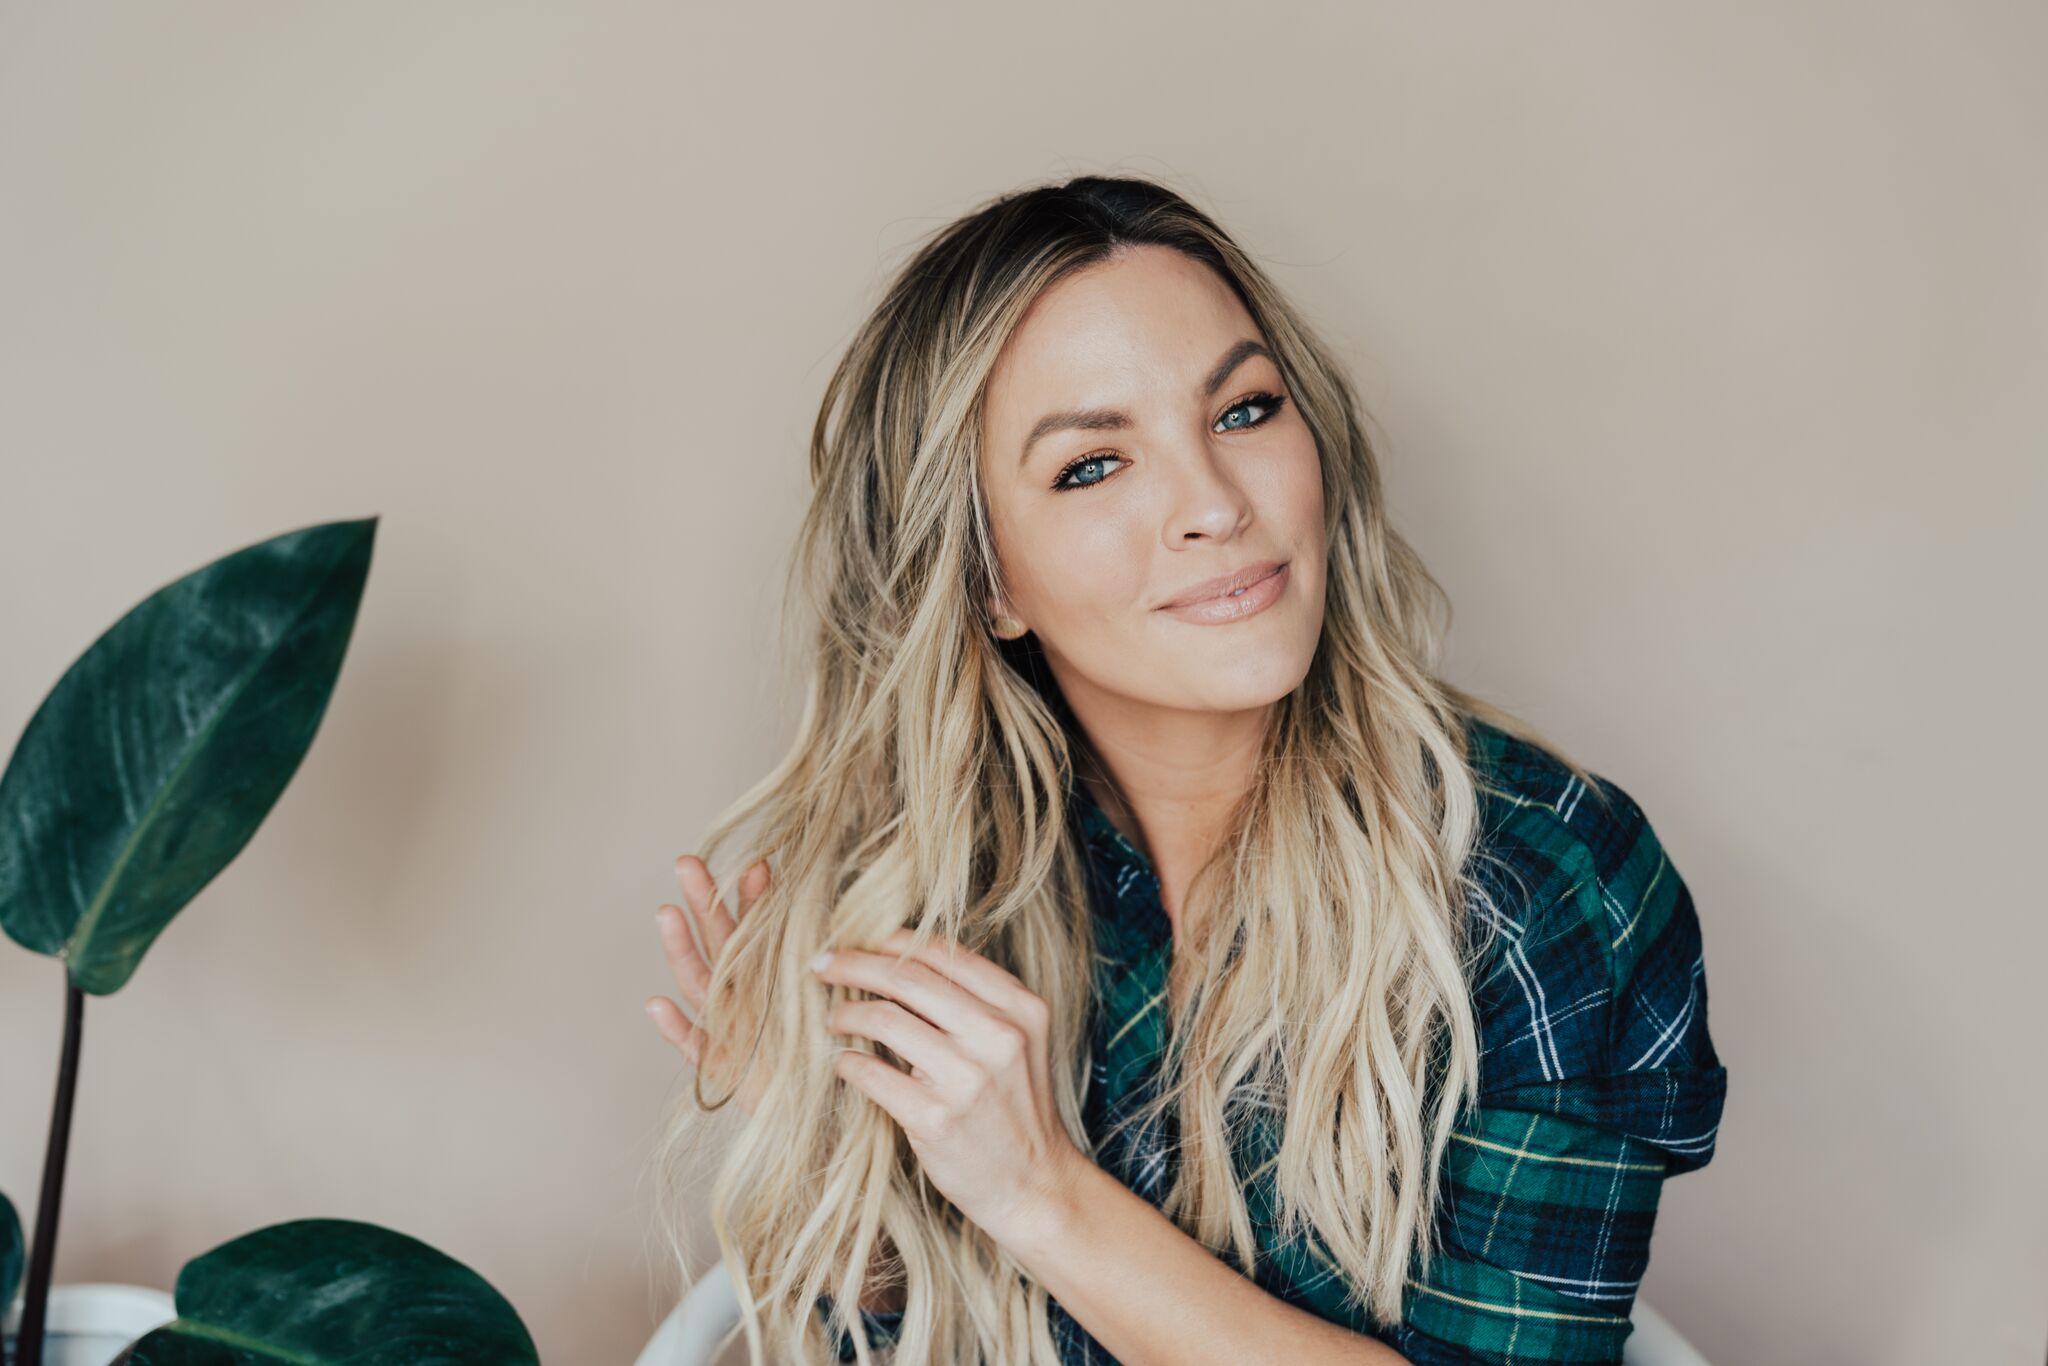
Well Y’all, I did it! It only took me two years, but I finally made a hair tutorial video to show you guys how I create my signature beach waves. I know I did a post about this a couple of weeks ago with Tauni, my stylist from Nine Zero One, but today I wanted to share with y’all how I do this look myself. So, let’s get started!
 First things first, here is what you are going to need:
- Curling Iron – I use two different curling irons from T3 Micro to create my beachy waves: the Twirl Trio in a 1.25″ barrel and the Twirl Convertible in a 1″ barrel. You don’t have to use two different size barrels, but I think it does help create a more natural look overall.
- Texture Spray – I use Kevin Murphy’s DOO.OVER spray, which is a dry finishing hairspray that has great holding power but still gives your hair the freedom of movement. You want to shake it well, spray evenly onto dry hair and focus mostly on the roots.
- Dry Paste – Lastly, you will need a dry shampoo or texture paste like the BADLANDS Dry Shampoo Paste from R+Co. This stuff is great for adding amazing second-day texture and absorbing oil. It has a matte finish and a re-workable hold meaning no buildup, just serious style!
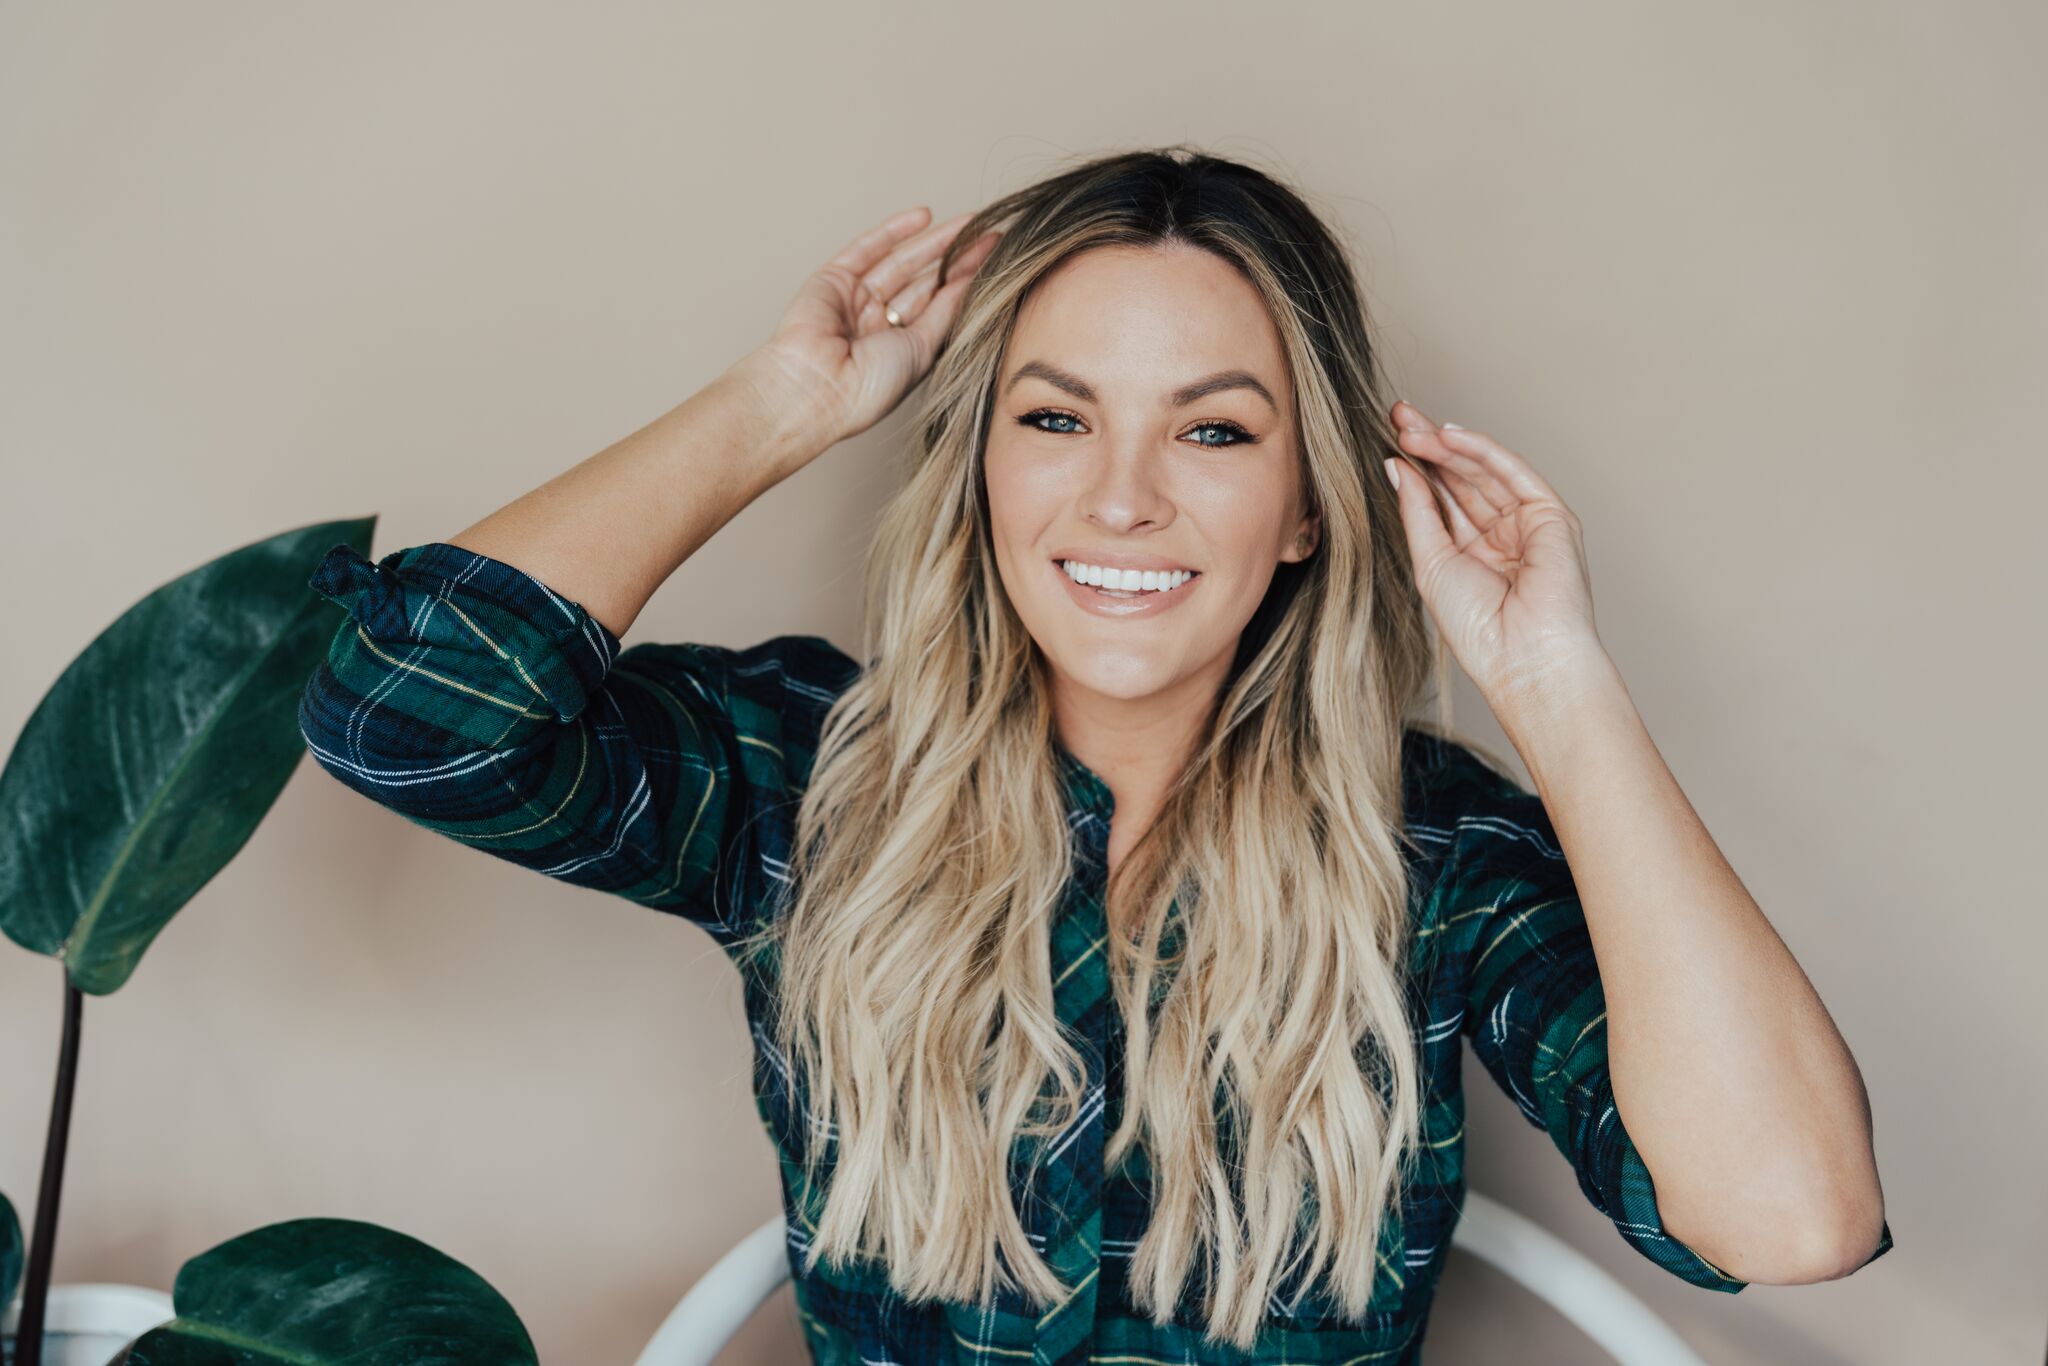 So, even though Tauni does not section out my hair when she does this look, I like to because it helps me keep track of the sections during the styling process. And y’all know I need all the help I can get! LOL. I usually end up sectioning my hair out into 4 main sections: the bottom section of hair, then the middle, then the crown of the head, and then the very top section.
  Once you have your first section, using your 1.25″ curling iron, begin curling small sections of hair, being sure to keep the ends of your hair out of the barrel. Keeping the ends straighter is actually what makes the beach waves appear so natural and effortless. Hold the curl for about five seconds and then pull the curling iron down to release the hair. Dragging the hair down with your iron will help soften the look and avoid creating colonial Williamsburg-style ringlet curls. Trust me, not a good look!
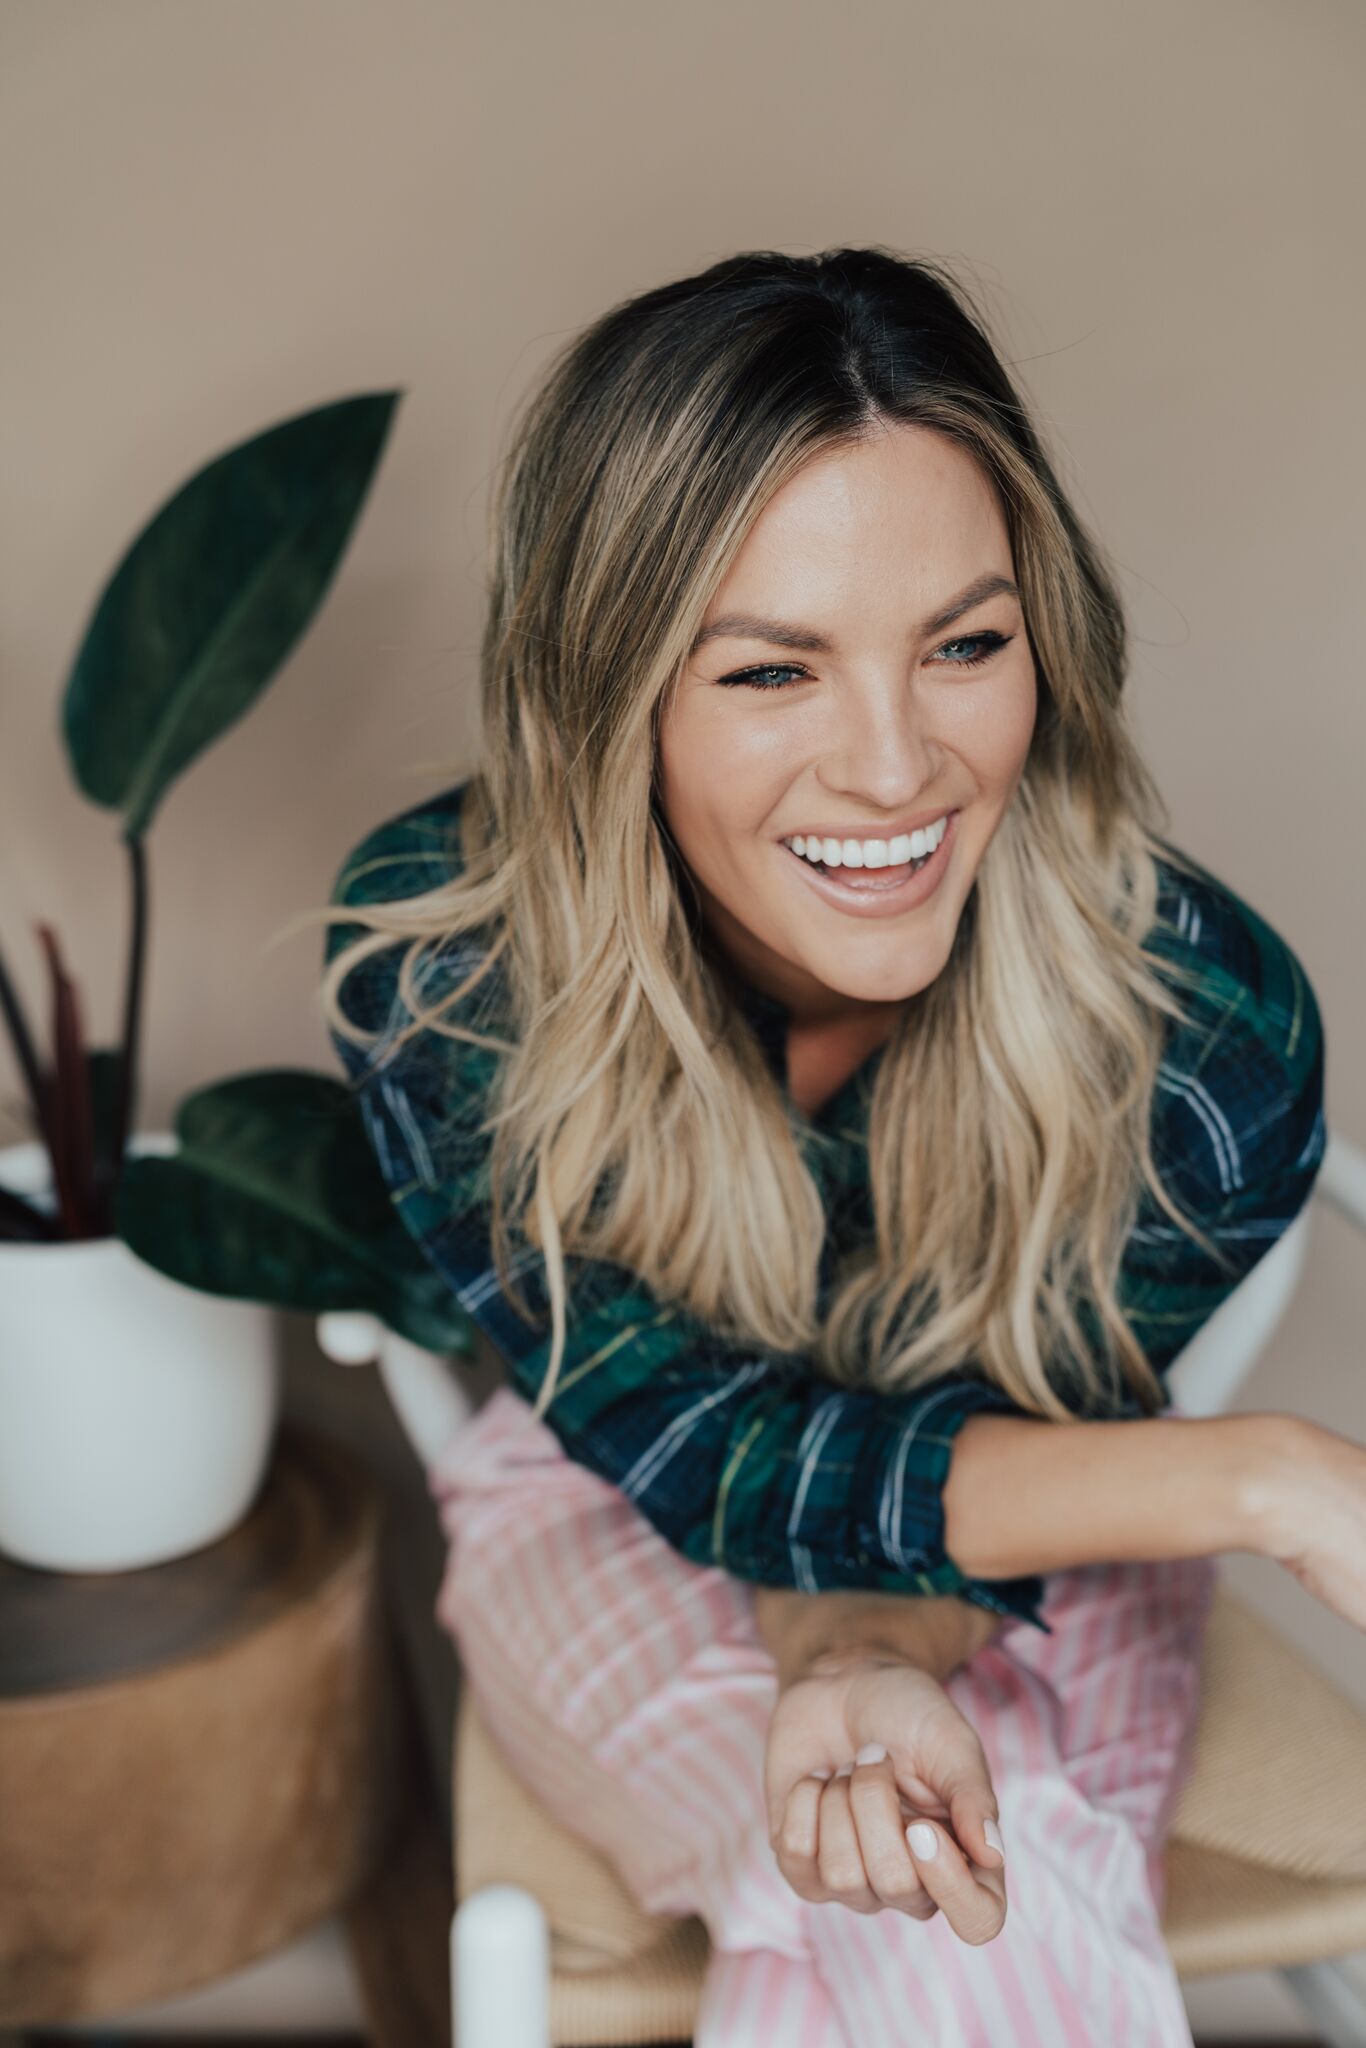 Continue this process throughout your entire head, alternating directions as you curl. Make sure that you curl away from your face and then go in opposite directions as you move toward the back. Reversing the direction of the curls will give the style more texture and look more natural and not so perfect looking. Finish it off with your dry shampoo paste and texture spray and you are good-to-go! Make sure to watch the entire tutorial on my YouTube channel, HERE. I hope you guys enjoy and have fun recreating this look on your own!
xoxo,
Becca


Love your personality you have beautiful hair and smile